Roof storm damage checklist should be the first thing on every homeowner’s mind after wind and rain, hail and pain, shingles and gutters scattered down the lane — but what should you actually do when a storm leaves your roof damaged and your home vulnerable? Should you call your insurance company first? Should you climb onto the roof to inspect it? Or should you wait and see if any leaks appear?
For homeowners in Washington, Wildwood, Frontenac, Town & Country, Chesterfield, Eureka, Augusta, Union, and Pacific, Missouri, storm damage can happen with little warning. One night of severe weather can leave behind missing shingles, damaged flashing, fallen tree limbs, and hidden roof problems that may not become obvious until weeks later. The first 24 hours after a storm are critical because the actions you take during that time can help prevent additional damage, protect your insurance claim, and save thousands of dollars in future repairs.
That is why having a reliable roof storm damage checklist is so important. Instead of reacting emotionally after a storm, homeowners can follow a step-by-step plan that protects both their property and their peace of mind.
Why the First 24 Hours Matter So Much
Many homeowners assume the storm is over once the rain stops.
Unfortunately, the damage may just be beginning.
A compromised roofing system can allow water to enter the home long after the storm passes. Even small areas of damage can create opportunities for moisture intrusion, mold growth, and structural deterioration.
Following a roof storm damage checklist immediately after severe weather helps homeowners:
- Protect their property
- Prevent additional damage
- Document conditions properly
- Support insurance claims
- Identify hidden roofing issues
- Schedule repairs sooner
The faster damage is addressed, the lower the risk of more expensive repairs later.
Step 1: Put Safety First
The first item on every roof storm damage checklist should always be safety.
Many homeowners are tempted to climb onto their roof immediately after a storm. This is one of the biggest mistakes people make.
After severe weather, roofs may be:
- Wet and slippery
- Structurally weakened
- Covered in debris
- Unstable from impact damage
Never climb onto a damaged roof.
Instead, perform your initial inspection from the ground using binoculars or by walking around the property.
If there are downed power lines, exposed electrical components, or large fallen trees, contact emergency services immediately.
Your safety is always more important than roofing materials.
Step 2: Check the Interior of Your Home
The next step in your roof storm damage checklist is evaluating the inside of your home.
Look for signs of water intrusion such as:
- Ceiling stains
- Wet drywall
- Peeling paint
- Damp insulation
- Water dripping from fixtures
- Musty odors
Pay close attention to attic spaces if they are safely accessible.
Many storm-related leaks first appear in attics before becoming visible elsewhere in the home.
Document everything you find.
Even minor signs of moisture can become important later during inspections or insurance claims.
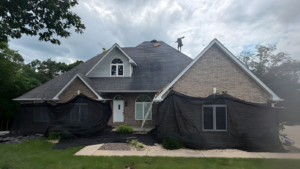
Step 3: Perform a Ground-Level Exterior Inspection
Once you have checked the interior, walk around your property and inspect the roof from the ground.
Look for visible signs of storm damage such as:
Missing Shingles
Strong winds often tear shingles away from the roof.
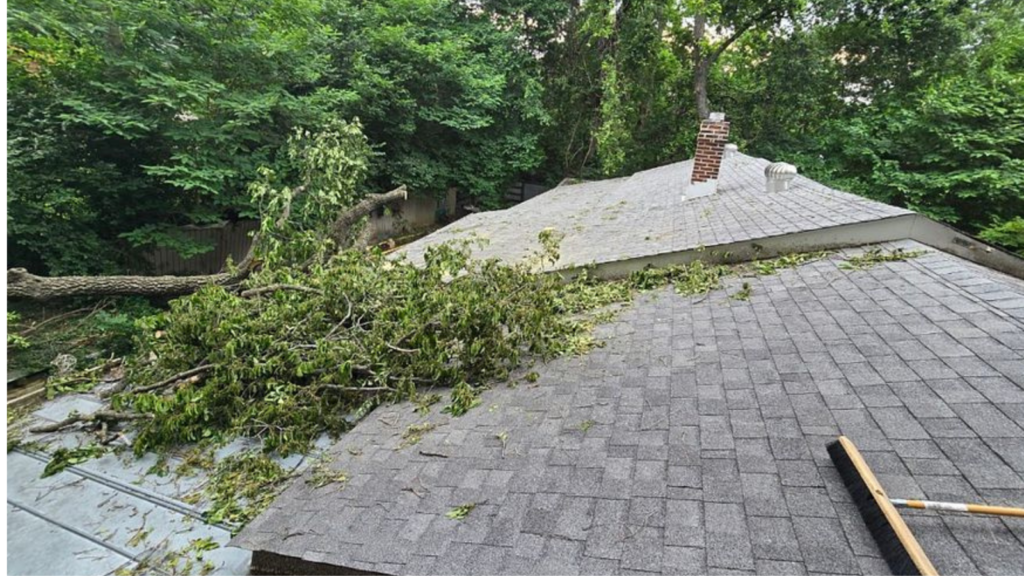
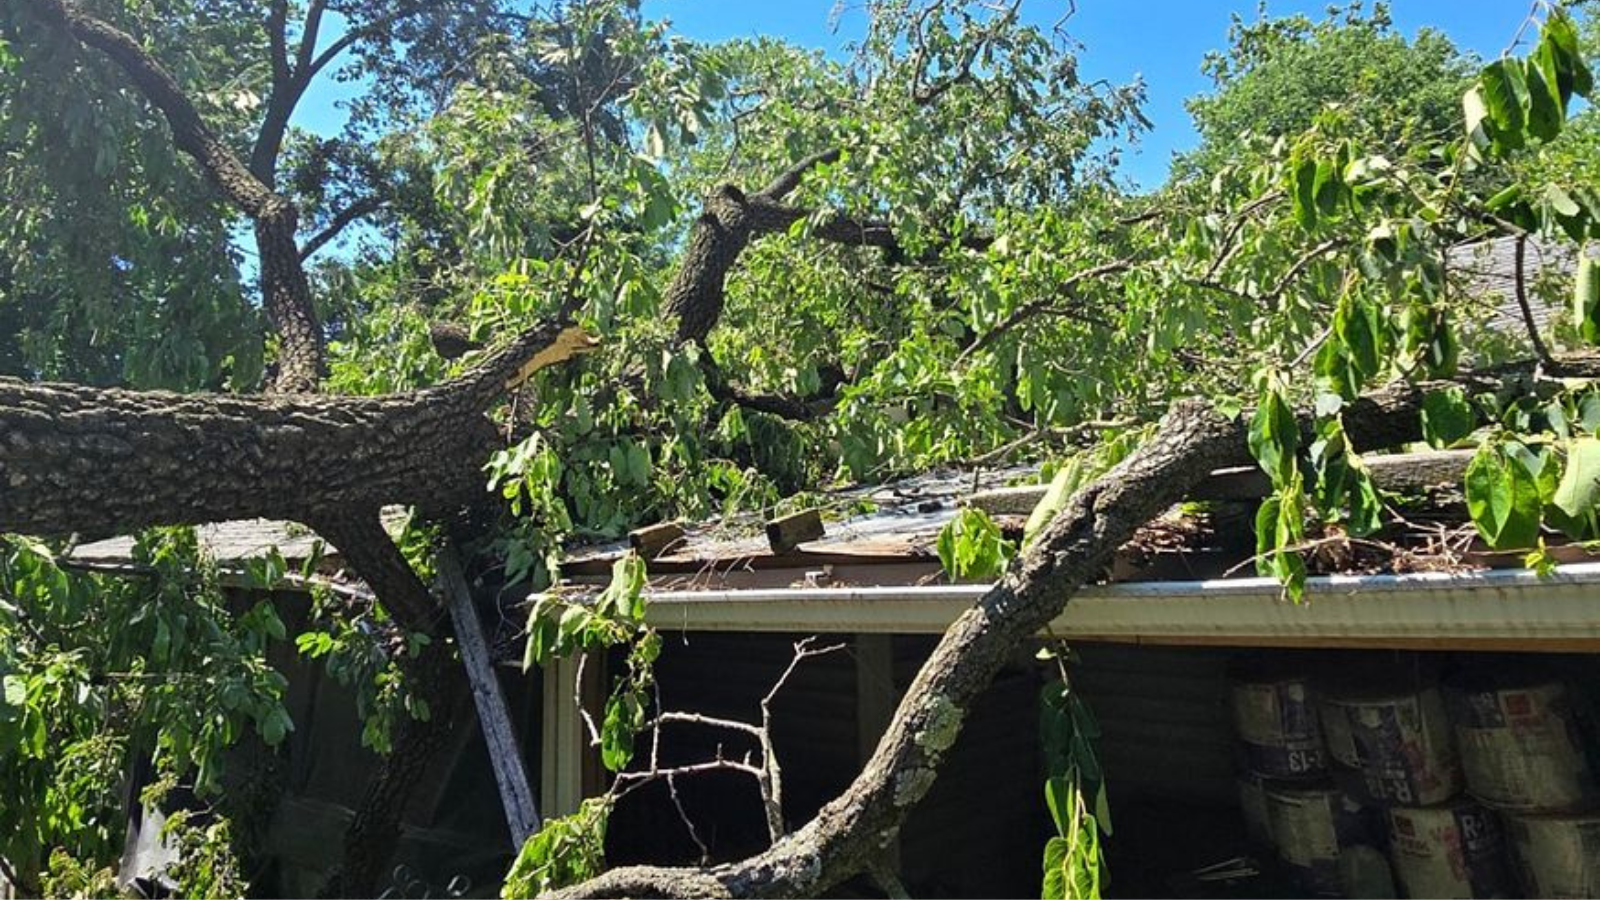
Fallen Tree Limbs
Branches can puncture roofing systems or damage gutters.
Damaged Flashing
Storms may loosen flashing around chimneys and roof penetrations.
Debris Accumulation
Heavy debris can indicate impact damage.
Detached Gutters
Gutters often suffer damage during severe weather.
A thorough roof storm damage checklist always includes both interior and exterior observations.
Step 4: Take Photos Immediately
Documentation is one of the most important steps after a storm.
Take clear photographs of:
- Missing shingles
- Fallen branches
- Damaged gutters
- Water stains
- Roof debris
- Interior damage
- Property impacts
Take photos from multiple angles whenever possible.
These images may become valuable evidence for:
- Insurance claims
- Contractor evaluations
- Future repair discussions
Even if the damage appears minor, documentation is always worth the effort.
A complete roof storm damage checklist should prioritize photographic records early in the process.
Step 5: Prevent Additional Water Damage
If active leaks are present, take temporary steps to reduce further damage.
Examples include:
- Placing buckets under leaks
- Moving furniture
- Protecting electronics
- Using plastic sheeting indoors
- Relocating valuables
Do not attempt extensive repairs yourself.
The goal is simply to minimize additional interior damage until professional help arrives.
Temporary protection is a key part of every effective roof storm damage checklist.
Step 6: Check Your Attic Carefully
The attic often provides valuable clues about roofing damage.
Look for:
- Wet insulation
- Water stains
- Dripping water
- Mold growth
- Daylight entering through the roof
Storm damage is not always obvious from outside.
Sometimes attic inspections reveal problems before ceiling damage develops.
This is one reason roofing professionals include attic evaluations during storm inspections.
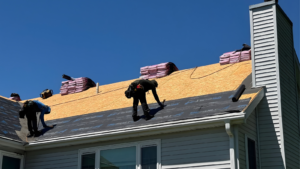
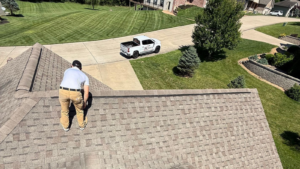
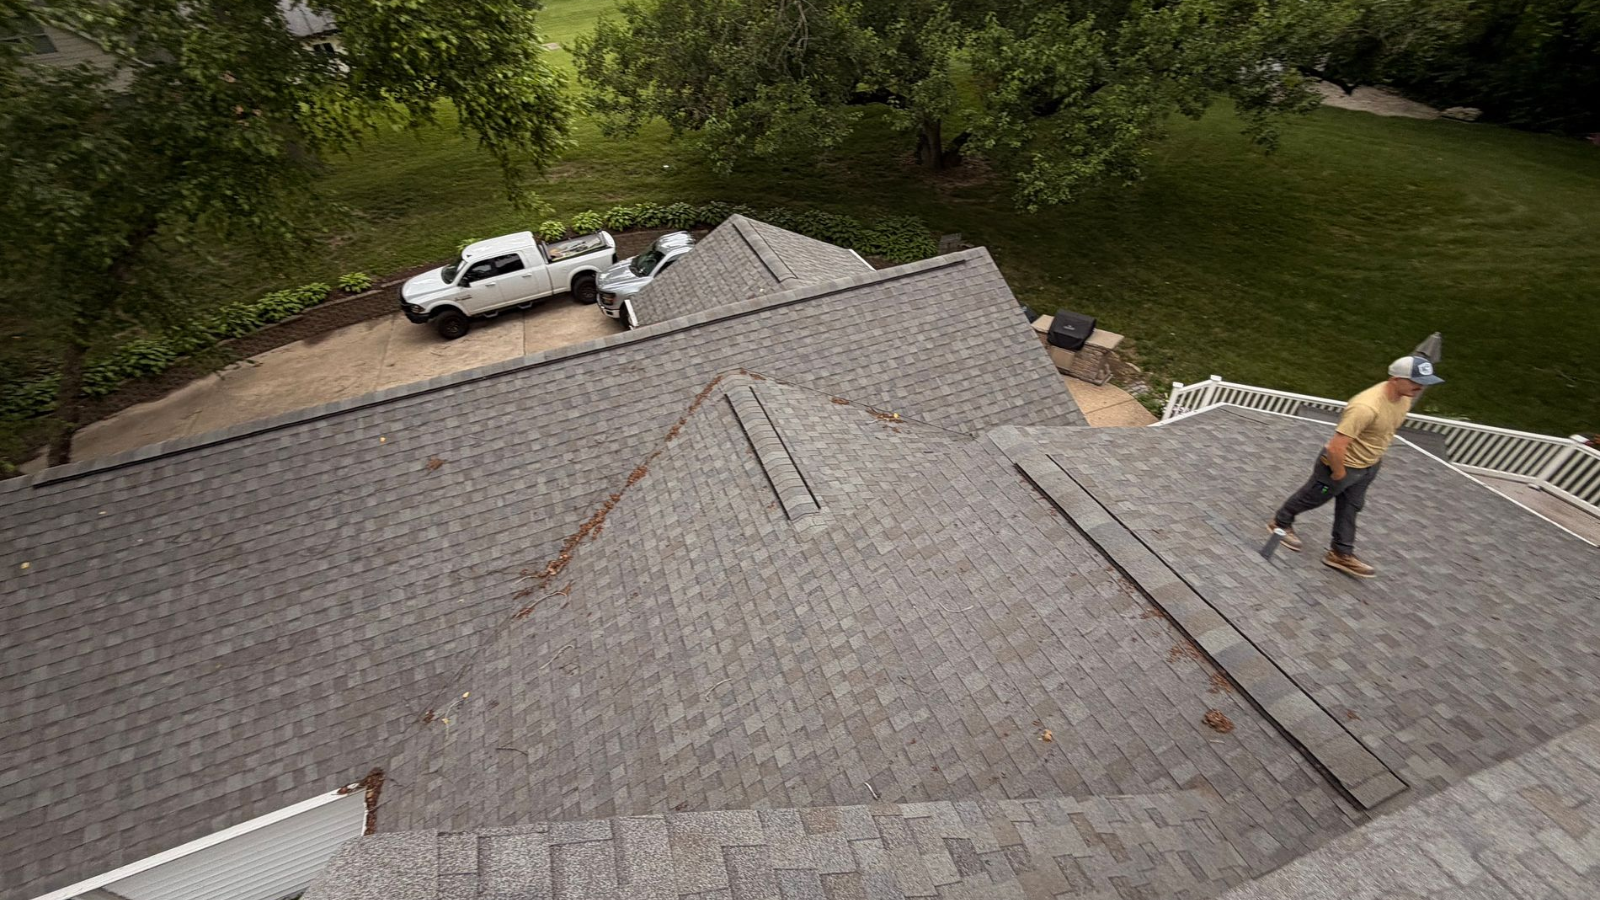
Step 7: Contact a Trusted Roofing Contractor
One of the most important steps in your roof storm damage checklist is scheduling a professional roof inspection.
A qualified roofing contractor can identify:
- Hidden damage
- Hail impacts
- Wind-related issues
- Structural concerns
- Flashing failures
- Moisture intrusion
Many roofing problems are impossible to detect without professional experience.
At RC Roofing, we help homeowners throughout Washington, Wildwood, Frontenac, Town & Country, Chesterfield, Eureka, Augusta, Union, and Pacific understand the true condition of their roof after storms.
Common Types of Storm Damage Found in Missouri
Missouri weather can create a wide range of roofing problems.
Wind Damage
High winds may:
- Lift shingles
- Remove roofing materials
- Damage flashing
- Loosen ridge caps
Hail Damage
Hail can cause:
- Granule loss
- Shingle bruising
- Surface cracks
- Impact marks
Water Damage
Heavy rain may expose vulnerabilities that already existed within the roofing system.
Tree Damage
Falling limbs can puncture roofs or damage gutters and siding.
A complete roof storm damage checklist accounts for all of these possibilities.
Step 8: Contact Your Insurance Company
After documenting damage and scheduling an inspection, contact your insurance provider.
Provide:
- Photos
- Dates of the storm
- Description of damage
- Inspection findings if available
The insurance company may schedule an adjuster visit.
Having a professional roofing inspection beforehand often helps homeowners better understand the condition of their roof before meeting with the adjuster.
Mistakes Homeowners Should Avoid
Following a roof storm damage checklist also means avoiding common mistakes.
Climbing on the Roof
This creates safety risks and may worsen damage.
Waiting Too Long
Storm damage can become worse over time.
Throwing Away Damaged Materials
Keep any roofing materials found on the ground until inspections are complete.
Hiring the First Contractor Who Knocks
After storms, out-of-town contractors often appear in affected neighborhoods.
Always verify credentials and choose a reputable local roofing company.
Why Hidden Storm Damage Is So Common
Many homeowners assume storm damage will be obvious.
Unfortunately, some of the most serious roofing issues remain hidden.
Examples include:
- Lifted shingles
- Broken seal strips
- Damaged underlayment
- Flashing separation
- Small punctures
These issues may not cause immediate leaks but can shorten roof lifespan significantly.
That is why every roof storm damage checklist should include a professional inspection.
How Long Can Storm Damage Go Undetected?
In some cases, homeowners do not notice roofing damage for months.
Problems may develop slowly through:
- Moisture infiltration
- UV exposure
- Seasonal weather cycles
By the time visible leaks appear, repairs often become more expensive.
Early inspections help identify problems before they escalate.
What Happens During a Professional Storm Damage Inspection?

Roofing professionals typically evaluate:
- Shingles
- Flashing
- Gutters
- Roof penetrations
- Attic conditions
- Ventilation systems
- Structural components
Photographs and documentation are usually provided.
This information becomes valuable for both repair planning and insurance discussions.
Storm Damage and Roof Lifespan
Even when storms do not cause immediate leaks, they can shorten roof lifespan.
Damage may accelerate:
- Granule loss
- Shingle deterioration
- Moisture penetration
- Flashing failures
A thorough roof storm damage checklist helps homeowners address these concerns before long-term deterioration occurs.
Why Local Experience Matters
Missouri weather creates unique roofing challenges.
Local contractors understand:
- Regional storm patterns
- Common roofing materials
- Insurance claim trends
- Weather-related roofing damage
Choosing a local roofing company often results in more accurate assessments and better long-term service.
Signs You Need Emergency Roofing Help
Certain situations require immediate attention.
Contact a roofing professional immediately if you notice:
- Active leaks
- Structural sagging
- Large tree impacts
- Exposed roof decking
- Missing sections of roofing
These situations should never wait.
Roof Storm Damage Checklist for Homeowners
Here is a simple summary homeowners can follow after severe weather:
| Step | Action |
| 1 | Ensure personal safety |
| 2 | Check ceilings and attic |
| 3 | Inspect roof from ground level |
| 4 | Take photos |
| 5 | Protect interior belongings |
| 6 | Document all visible damage |
| 7 | Schedule professional inspection |
| 8 | Contact insurance provider |
| 9 | Keep records organized |
| 10 | Complete repairs promptly |
Why Fast Action Saves Money
The sooner roofing problems are addressed, the less expensive they often become.
Prompt action helps:
- Prevent water damage
- Reduce repair costs
- Protect home value
- Preserve roofing materials
- Improve insurance documentation
This is one of the main reasons a roof storm damage checklist is such a valuable tool for homeowners.
Final Thoughts
Storm damage can be stressful, but having a plan makes a significant difference.
By following a detailed roof storm damage checklist, homeowners can protect their property, minimize additional damage, and make informed decisions during a challenging situation.
The first 24 hours are especially important because they set the foundation for everything that follows, from inspections and repairs to insurance claims and long-term roof performance.
When the next storm passes through your neighborhood, you will know exactly what to do and why it matters.