Lines and signs, seams and schemes, a beautiful siding job is only as good as what is happening underneath. Your new siding may look straight, clean, and finished from the curb, but how do you know it was actually installed the right way? For homeowners considering or already going through siding installation Washington MO, the details that matter most are often the ones you cannot see from the street. Proper fastening, drainage, flashing, clearances, house wrap, trim work, and room for material movement all help determine whether siding protects your home for years or becomes a source of moisture trouble, warping, and avoidable repairs.
Good Siding Installation Starts Before the First Panel Goes Up
A quality siding project should not begin with installers immediately covering the old wall.
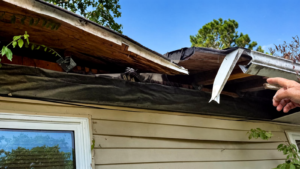
The existing exterior needs to be evaluated first. Damaged sheathing, rot, soft areas, old flashing problems, and other moisture concerns should be identified before new material hides them. If underlying damage is ignored, even premium siding can end up covering a problem instead of solving it.
This is one of the most important things to watch during siding installation Washington MO. Ask what the crew found after removing the old siding and whether any deteriorated sheathing or water-damaged areas required repair.
A good contractor should be able to explain what was uncovered, what was corrected, and why.
The Siding Itself Is Not the Whole Water-Protection System
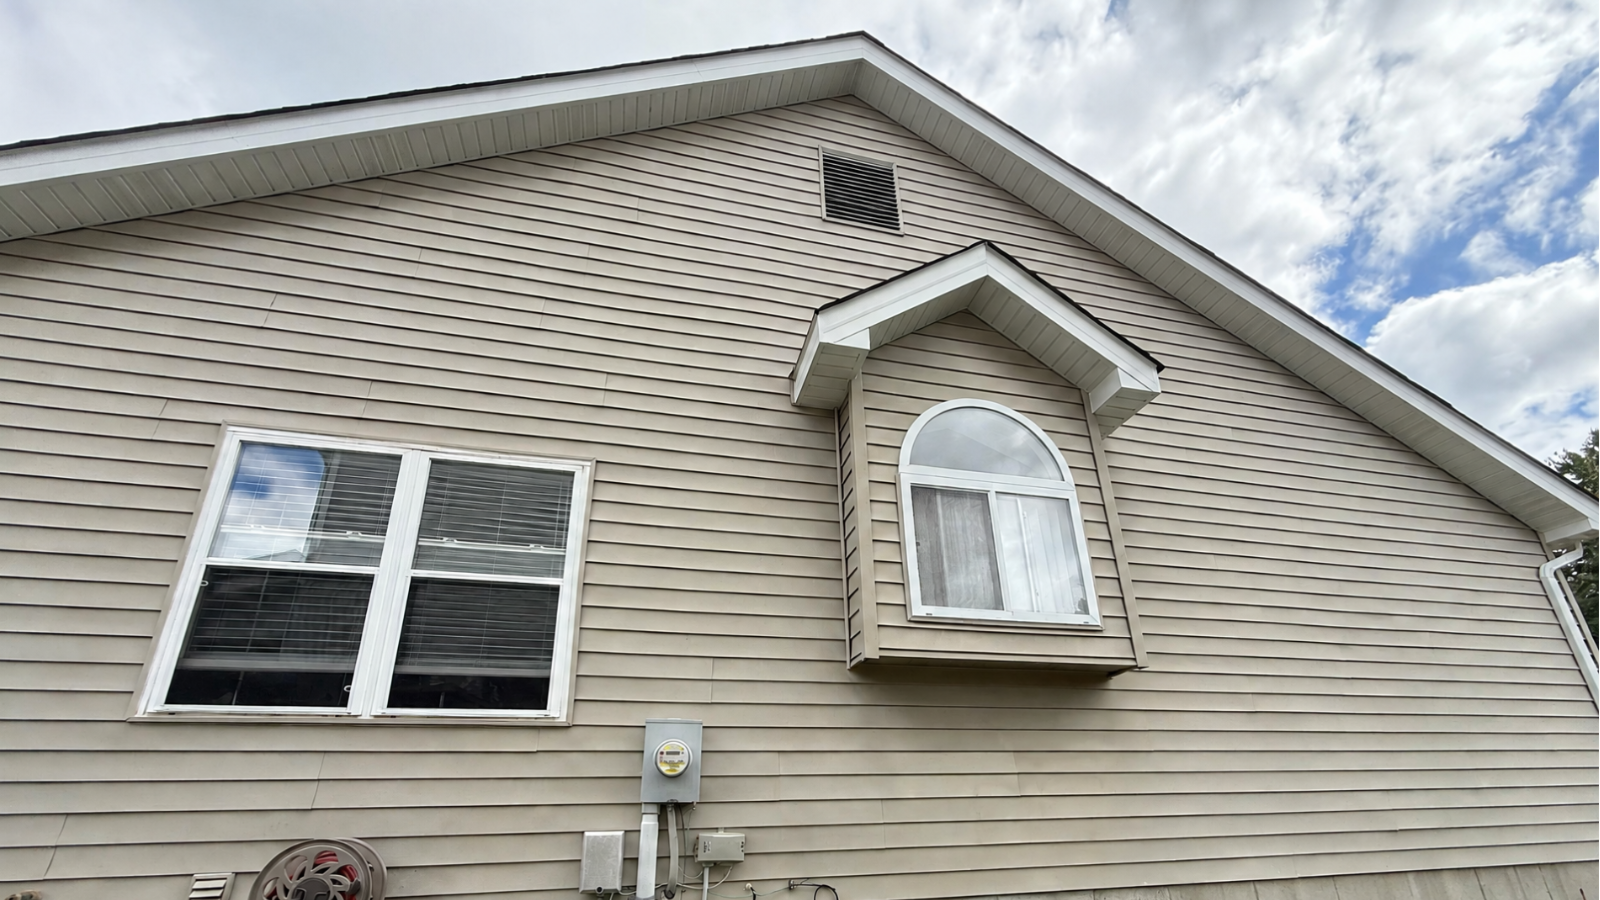
One of the biggest misconceptions homeowners have is that siding is supposed to create a completely waterproof shell by itself.
That is not how most wall systems work.
According to the Vinyl Siding Institute’s installation guidance, vinyl siding is an exterior cladding rather than a water-resistive barrier. Its guidance calls for a continuous water-resistive barrier behind the siding and properly integrated flashing around openings and roof lines.
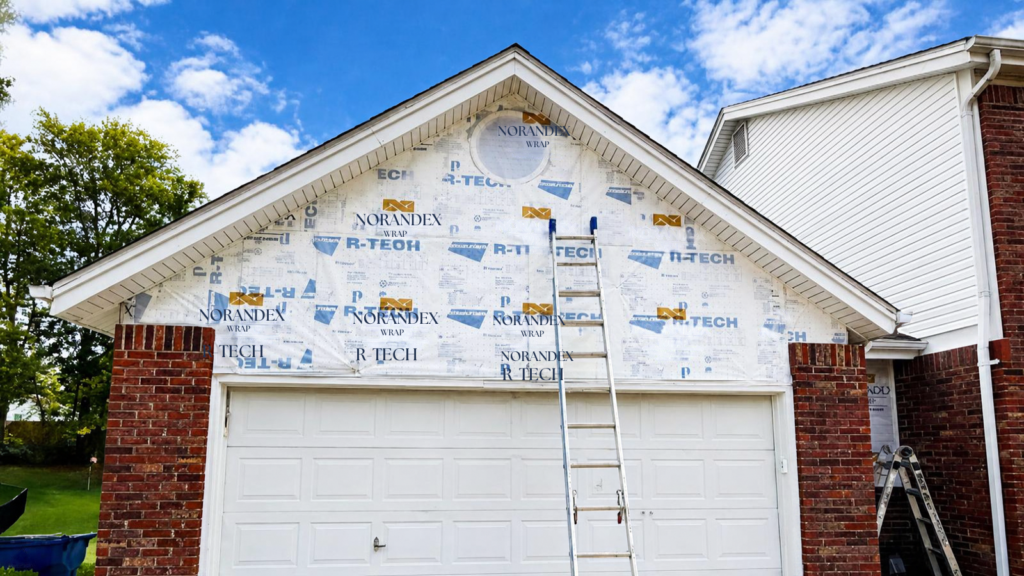
That means a good siding installation Washington MO project should pay careful attention to the layer behind the siding, often called house wrap or a water-resistive barrier. This hidden layer helps direct incidental water away from the wall assembly if moisture gets past the exterior cladding.
If your contractor is replacing siding and you never see any discussion of the water-resistive barrier, flashing, or underlying wall condition, that is worth asking about.
Look Closely at House Wrap and the Drainage Plane
Before siding covers the house, the wall should have a clear strategy for managing water.
The U.S. Department of Energy’s Building America guidance recommends a continuous drainage plane behind exterior cladding and calls for properly flashed and sealed windows, doors, and other wall penetrations. It also emphasizes lapping house wrap and flashing so water is directed outward rather than trapped inside the wall.
For homeowners, you do not need to memorize every technical detail. You simply want to see an installation that treats water as something that must be intentionally directed away from the structure.
During siding installation Washington MO, the house wrap should not look like an afterthought. Tears should be addressed, openings should be integrated carefully, and transitions should be installed so water can drain instead of becoming trapped.
Recommendation: Photograph the Wall Before It Is Covered
Take a few clear photos after the old siding comes off and again after the weather barrier and flashing are prepared. Those images create a simple record of what is behind the finished exterior and can be useful if questions arise later.
Windows and Doors Are Where Details Really Matter
If water is going to find a weak spot, windows and doors are obvious places to look.
Every opening interrupts the wall system. That means flashing and drainage details around those openings need to work with the water-resistive barrier.
A siding job can look excellent around a window while still being vulnerable behind the trim if flashing was skipped or integrated incorrectly.
During siding installation Washington MO, look for evidence that your contractor is treating windows and doors as part of the moisture-management system, not simply cutting siding around them and filling gaps with caulk.
Caulk has an important role, but it should not be the only thing standing between your wall and rainwater.
Watch the Roof-to-Wall Intersections
Where a roof meets a wall is another area that deserves close attention.
Water running down the roof needs to be directed away from the siding and wall assembly. This often involves step flashing and, in certain locations, kickout flashing that helps push roof runoff into the gutter rather than behind the siding.
The Vinyl Siding Institute specifically addresses step flashing and kickout-style diverters at roof-to-wall conditions in its installation manual.
If your home has dormers, lower roof sections, additions, or other places where siding meets roofing, ask the installer how those transitions are being protected.
A well-planned siding installation Washington MO should never treat roof-to-wall intersections as decorative trim details. They are critical drainage points.
Vinyl Siding Should Not Be Nailed Too Tight
This is one of the easiest installation mistakes for homeowners to understand.
Vinyl expands and contracts as temperatures change. If the panels are fastened too tightly, they cannot move normally.
The Vinyl Siding Institute instructs installers to center fasteners in the nailing slots and leave slight clearance rather than driving fasteners tight against the panel. Its manual warns that tight fastening can cause vinyl siding to buckle as temperatures change.
That is especially relevant in Missouri, where homes experience hot summers, freezing winter temperatures, and big seasonal swings.
During a vinyl siding installation Washington MO, panels should be secure without being locked rigidly in place. If you see widespread rippling, buckling, or panels that look pinched shortly after installation, it may be worth having the work reviewed.
Straight Courses Matter, but They Are Only Part of the Story
Yes, new siding should look straight.
Stand back from the house and look along long wall sections. Courses should appear consistent, trim should look intentional, and corners should not seem wavy or uneven.
But visual alignment is not proof of a correct installation.
A beautiful wall can still hide missing flashing, damaged sheathing, an incomplete drainage plane, or incorrect fasteners.
Think of curb appeal as one layer of the inspection rather than the final verdict.
A quality siding installation Washington MO should look good from twenty feet away and still make sense when you examine the details around openings, roof lines, corners, utility penetrations, and the base of the wall.
Siding Should Not Be Trapping Water Against the House
Where siding meets decks, patios, roof surfaces, masonry, or grade, drainage and drying matter. Different materials have different clearance requirements, so installers should follow the exact manufacturer’s instructions rather than treating every product the same.
If siding appears buried in soil, resting directly on a roof, or pressed tightly against a wet horizontal surface, ask about it before the project is completed. Repeated moisture exposure can contribute to staining, swelling, or deterioration depending on the material.
Corners and Trim Should Look Intentional
Corners, J-channels, window trim, and other accessories should look straight, secure, and deliberately fitted. Vinyl components need room for movement, while fiber cement and other materials have their own joint and trim requirements. Clean transitions are a good sign during siding installation Washington MO; crushed trim, random patches, or excessive sealant deserve questions.
Do Not Judge Siding Quality by Caulk Alone
Fresh caulk looks neat, which can make homeowners feel confident about the finished project.
But sealant is only one component of a weather-resistant wall.
It ages. It expands and contracts. Some joints are designed to be flashed instead of simply filled. Other locations require gaps or drainage paths that should not be sealed shut.
James Hardie’s installation guidance, for example, distinguishes between locations that require flashing, clearances, or caulked gaps depending on the exact detail.
The larger lesson is that good siding installation manages water through layers and overlaps, not through a tube of sealant alone.
Utility Penetrations Need Proper Blocking and Flashing
Hose bibs, electrical boxes, lights, vents, cables, and utility lines interrupt the wall and need deliberate detailing. Siding should not simply be cut roughly around a fixture and filled with caulk. Appropriate blocks, trim, flashing, and compatible sealants should be used for the specific system.
During siding installation Washington MO, walk around the home and look at every penetration. The details should appear planned, not improvised.
A Quick Homeowner Check During Installation
| What to Check | What Good Work Generally Looks Like | Why It Matters |
| Wall condition | Damaged sheathing addressed before covering | Prevents new siding from hiding rot |
| Weather barrier | Continuous, repaired where torn, integrated with openings | Helps manage incidental water |
| Window and door flashing | Layered to direct water outward | Reduces risk of hidden wall leaks |
| Fasteners | Correct type and placement for the product | Helps siding stay secure and move as designed |
| Vinyl panels | Secure but not nailed rigidly tight | Allows expansion and contraction |
| Roof-to-wall areas | Flashing integrated with siding and roofing | Directs runoff away from the wall |
| Bottom clearances | Product-specific spacing from grade, roofs, decks, and hard surfaces | Helps limit moisture exposure |
| Corners and trim | Straight, secure, clean transitions | Protects edges and improves finish quality |
| Utility penetrations | Proper blocks, trim, flashing, and sealant where required | Reduces water entry points |
| Final appearance | Straight courses without obvious waves or distortion | Can reveal fastening or substrate issues |
This is not a substitute for the manufacturer’s installation guide or professional inspection, but it gives homeowners practical areas to watch while work is still accessible.
Beware of Siding That Starts Buckling Soon After Installation
New siding should not look worse a few weeks after the project is completed.
If vinyl panels begin waving, bulging, or buckling after temperature changes, improper fastening or insufficient expansion clearance may be involved.
Not every wave automatically means the installation is defective. Wall irregularities and lighting can sometimes exaggerate appearances. Still, noticeable changes deserve a closer look.
For new siding installation Washington MO, document the area with photos and contact the contractor while the project details are still fresh.
It is much easier to investigate an installation concern early than several seasons later.
Ask What Product Instructions the Crew Is Following
This is an underrated homeowner question:
“Which manufacturer’s installation instructions are you following for this product?”
A professional crew should have a clear answer.
Vinyl, fiber cement, engineered wood, metal siding, and other claddings do not all install the same way. Fastener type, spacing, clearance, joint treatment, flashing, and trim details can vary.
The manufacturer’s current instructions should guide siding installation Washington MO along with applicable building requirements. Generic shortcuts are risky because what works for one product may be wrong for another.
Pay Attention to What Happens Around Existing Damage
Removing old siding is often the first time homeowners get a real look at portions of the sheathing beneath it.
Do not be alarmed if the crew finds an isolated problem. In fact, finding damage before new siding goes on is an opportunity to correct it.
What matters is how the contractor responds.
If soft sheathing, water staining, rot, or damaged trim is discovered, ask for an explanation and photos. You should understand whether the damage is localized, what caused it, and what repair is recommended before the wall is closed again.
That transparency is especially valuable in a siding installation Washington MO project because the finished siding will soon hide most of the underlying work.
Why Missouri Weather Makes Installation Details More Important
Washington-area homes face summer heat, freezing winters, wind-driven rain, thunderstorms, hail, and repeated seasonal movement. Those conditions can expose weak fastening, flashing, and drainage details over time.
Homes in Wildwood and Augusta may also have heavier tree exposure, while properties in Frontenac and Town & Country can include more complex roof and wall intersections. Across Chesterfield, Eureka, Union, Pacific, and Washington, the same principle applies: water needs a path out, siding needs to be secured correctly, and installation details must match the product.
Red Flags Worth Addressing Before Final Payment
Before closing out the project, walk the property with your contractor. Look for loose or distorted panels, unfinished trim, poorly fitted penetrations, damaged finishes, and siding that appears to contact surfaces it should clear. Confirm that agreed flashing, house wrap, and substrate repairs were completed.
If something looks unusual, ask about it. The goal is not to hunt for faults, but to understand what you are receiving.
Why the Work Behind the Siding Matters as Much as the Siding You See
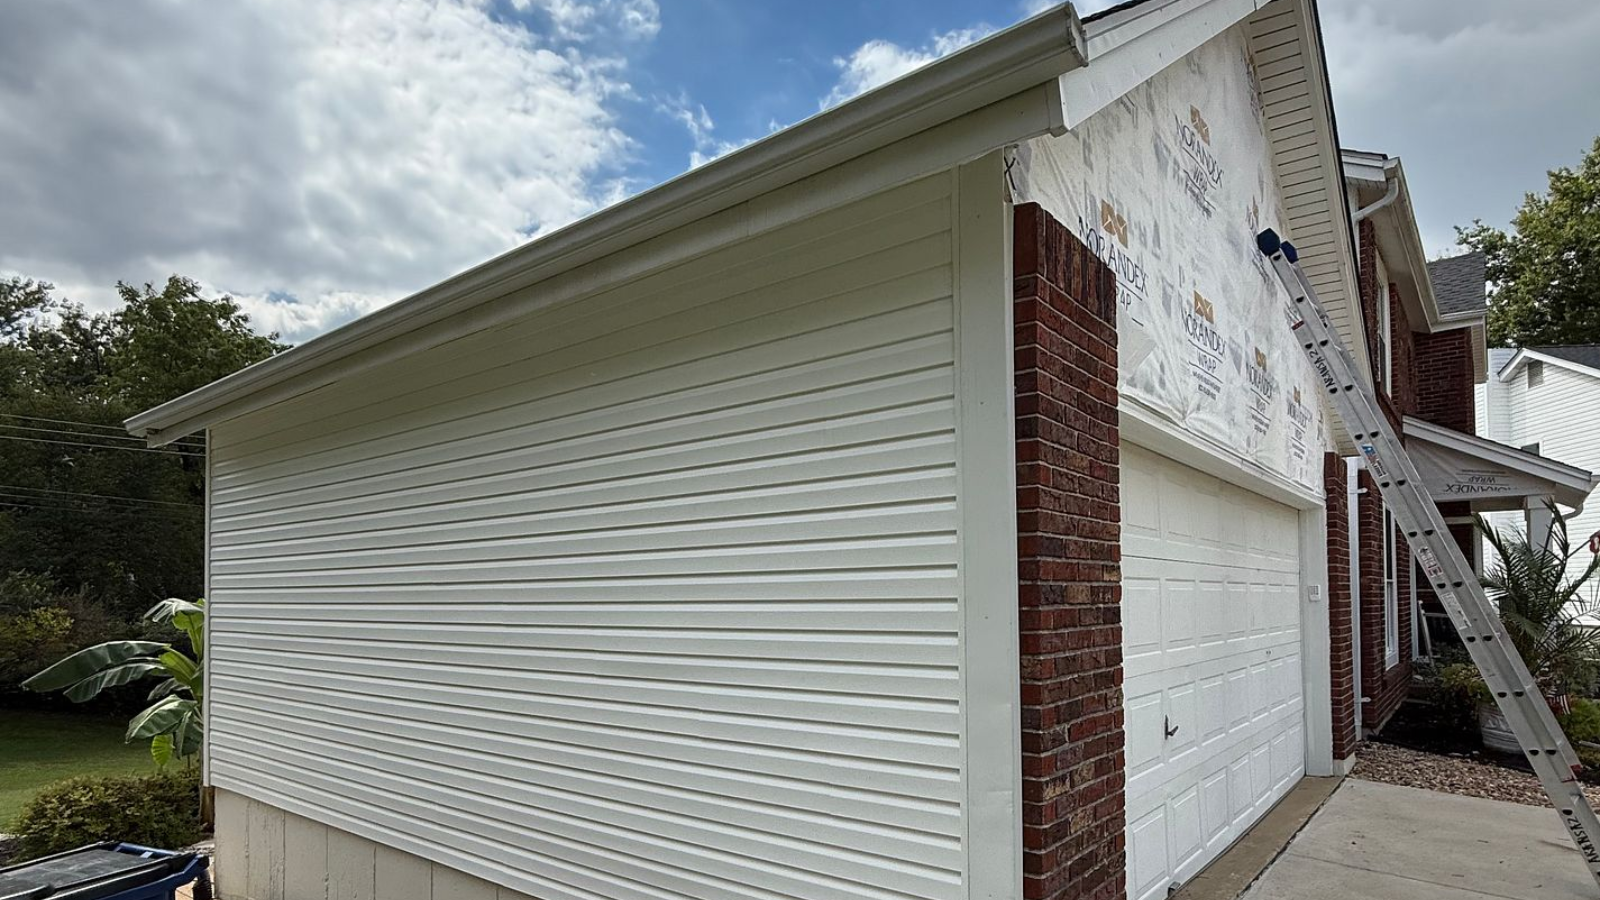
Homeowners naturally focus on color, profile, texture, and curb appeal because those are the parts they live with every day.
But the longevity of your exterior depends heavily on hidden details.
The DOE’s Building America guidance emphasizes flashing, drainage planes, sealed penetrations, and properly layered water-management components because controlling water is fundamental to wall durability.
Likewise, industry installation guidance for vinyl siding emphasizes a water-resistive barrier, flashing integration, and fastening that allows movement.
So when comparing contractors, do not ask only what brand they install. Ask how they will protect the wall behind it. That question can tell you far more about the quality of a proposed siding installation Washington MO.
RC Roofing’s Recommendation for Washington-Area Homeowners
If you are replacing siding, try to stay involved at three key moments: after the old material comes off, after the moisture-management components are prepared, and before final project sign-off.
You do not need to supervise every nail.
Instead, ask for clear communication about underlying damage, flashing, water-resistive barriers, manufacturer requirements, and any changes that become necessary once the wall is opened.
For homeowners in Washington, Wildwood, Frontenac, Town & Country, Chesterfield, Eureka, Augusta, Union, and Pacific, this approach gives you a better understanding of what you are paying for and helps ensure the finished exterior is more than just a cosmetic upgrade.
Your Siding Should Look Good Today and Protect Your Home Tomorrow
New siding can completely transform a home, but the best installation is not simply the one with the prettiest finish.
It is the one where the wall was prepared correctly, water can drain, flashing protects vulnerable transitions, fasteners suit the material, clearances follow product requirements, and every opening is treated as part of a complete exterior system.
If you are planning siding installation Washington MO, ask questions while the work is still visible. Look at the details around windows, doors, roof lines, corners, decks, utilities, and the bottom of the wall. Take photos before those areas are covered. Most importantly, choose a contractor who is willing to explain how the installation protects your home, not just how it will improve curb appeal.
Straight lines may catch the eye, but smart layers keep the home dry. The right siding installation should give you both.