Severe storms can leave homeowners feeling overwhelmed and unsure where to begin when damage occurs. From hail and wind to falling debris, storm events can create complex roofing issues that may not be immediately visible. Once the storm passes, one of the most important steps is properly Documenting Roof Storm Damage for insurance purposes. Clear, organized documentation protects your claim and ensures you receive the coverage you are entitled to.
At RC Roofing in Washington MO, we work with homeowners who need trustworthy support after storms. Storm Damage Roof Documentation is not just about taking photos. It is about gathering evidence, recording conditions, and creating a timeline that connects the damage to the event. This process supports communication with insurance adjusters, helps validate claims, and reduces the risk of disputes.
This guide explains how homeowners in Washington, Wildwood, Frontenac, Town & Country, Chesterfield, Eureka, Augusta, Union, and Pacific can approach storm damage documentation step by step.
Why Documenting Roof Storm Damage Matters
Insurance companies rely on evidence to validate claims. Without proper documentation, storm-related roofing damage may be questioned or denied. Documenting Roof Storm Damage provides proof of impact, condition, and the need for repairs.
This documentation supports accurate estimates, speeds up the claims process, and helps ensure homeowners are treated fairly. It also prevents misunderstandings and creates a record for future reference.
For homeowners, proper storm damage documentation increases confidence and control during a stressful experience.
Understanding How Storms Affect Roofs
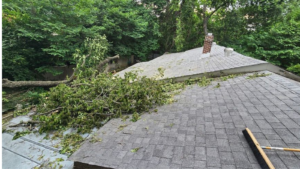
Storms can affect roofs in several different ways. Hail may crack shingles, dent metal, or damage flashing. High winds can lift shingles, tear away sections of roofing, or loosen structural components. Heavy rain can force water beneath the roofing system, creating hidden leaks.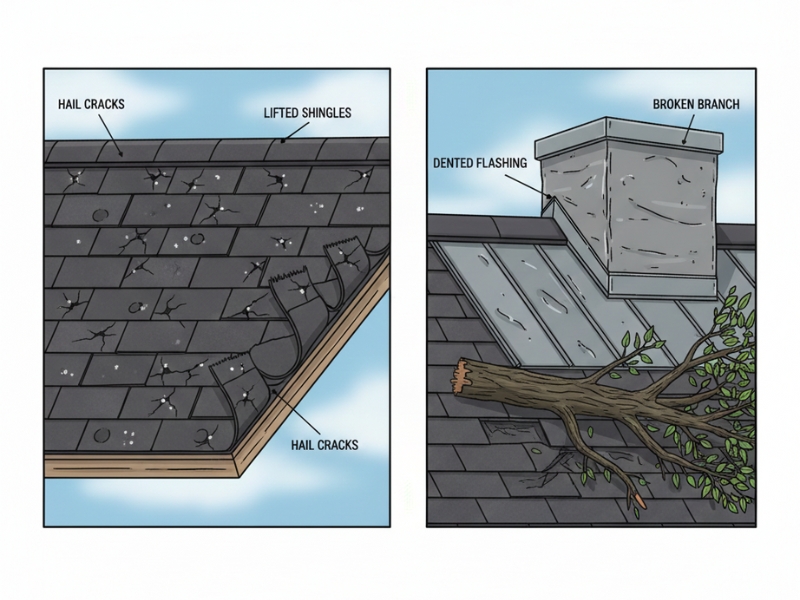
Debris such as branches or airborne objects may puncture roofing materials or break gutters. The documentation process begins with understanding how storms create problems so nothing is overlooked.
Damage may be obvious or subtle. Even small openings can lead to larger issues if not addressed promptly.
Safety First Before Documentation
Before documenting storm-related roof damage, safety should always come first. Do not climb onto the roof if it appears unstable or dangerous.
Start with ground-level documentation. Use binoculars or zoom features on your camera to capture roof conditions without risking injury.
If interior leaks or ceiling damage are present, avoid areas with sagging materials or electrical hazards. Safety is part of responsible documentation.
Step One: Create A Storm Impact Timeline
The first step in Storm Damage Roof Documentation is creating a timeline. Note the date and time of the storm, weather conditions, and any warnings or alerts you received.
Include descriptions of hail size, wind strength, and rainfall if you witnessed them. If available, save local weather reports or screenshots from weather apps confirming the event.
This timeline connects the damage to a specific storm and supports the claim.
Pro Tip (2026 Update):
Insurance providers increasingly cross-check claims with verified weather databases. Having timestamps and third-party weather confirmation strengthens claim credibility.
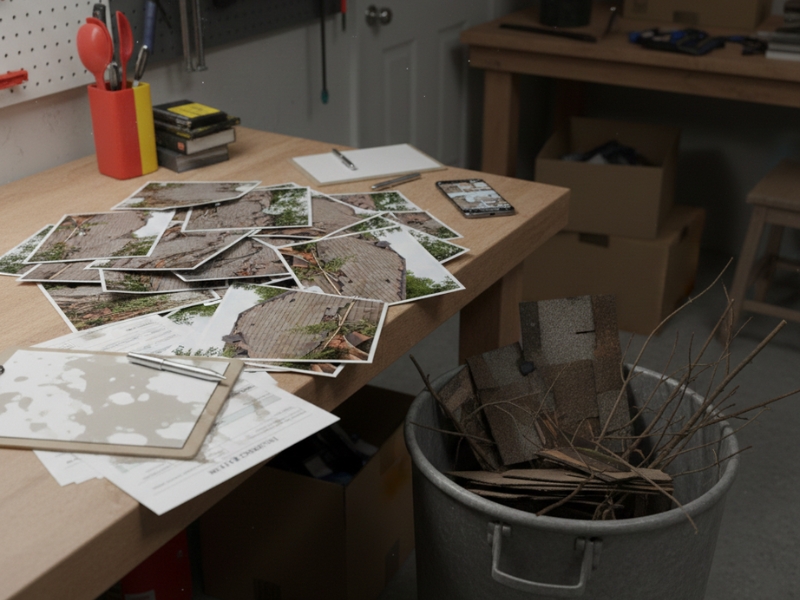
Step Two: Capture Exterior Ground-Level Photos
Begin documenting storm damage by taking photos from the ground. Photograph all sides of the house, focusing on gutters, siding, downspouts, and roof edges.
Look for shingles on the ground, damaged fascia, and debris buildup. Capture images of anything that appears out of place.
These photos show overall conditions and establish the starting point for deeper inspection.
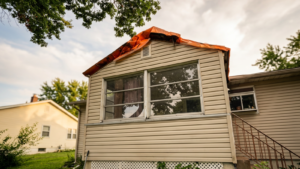
Step Three: Document Visible Roof Damage Safely
If safe and accessible, capture closer images of roof damage from a ladder or elevated angle. Storm Damage Roof Documentation may include close-ups of cracks, missing shingles, or lifted materials.
Photograph damaged flashing, punctures, dented vents, and exposed underlayment. Each image should clearly show the affected area.
Avoid walking on the roof if you are not experienced. Roof surfaces may be slippery or structurally compromised.
Step Four: Record Interior Damage
Storm-related roof damage often leads to interior issues. The documentation process should include indoor evidence.
Look for water stains, peeling paint, softened ceilings, and damp insulation. Photograph attic spaces if accessible and safe.
Interior documentation helps link roof damage to water intrusion and supports repair needs.
Step Five: Inspect Gutters And Drainage
Gutters and downspouts help direct water away from the home. Storms can bend, clog, or detach these systems.
Storm damage documentation should include photos of gutter alignment, downspout placement, and signs of overflow or pooling water.
Proper drainage protects the home. Damage may indicate compromised roofing components.
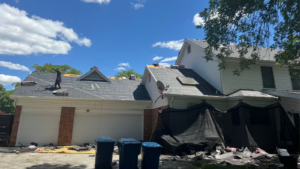
Step Six: Document Additional Structures
If the property includes garages, sheds, pergolas, or outbuildings, document those as well. Storm conditions may impact multiple structures.
Recording storm damage across the entire property creates a full picture of the event’s impact.
This holistic record supports insurance discussions and repair planning.
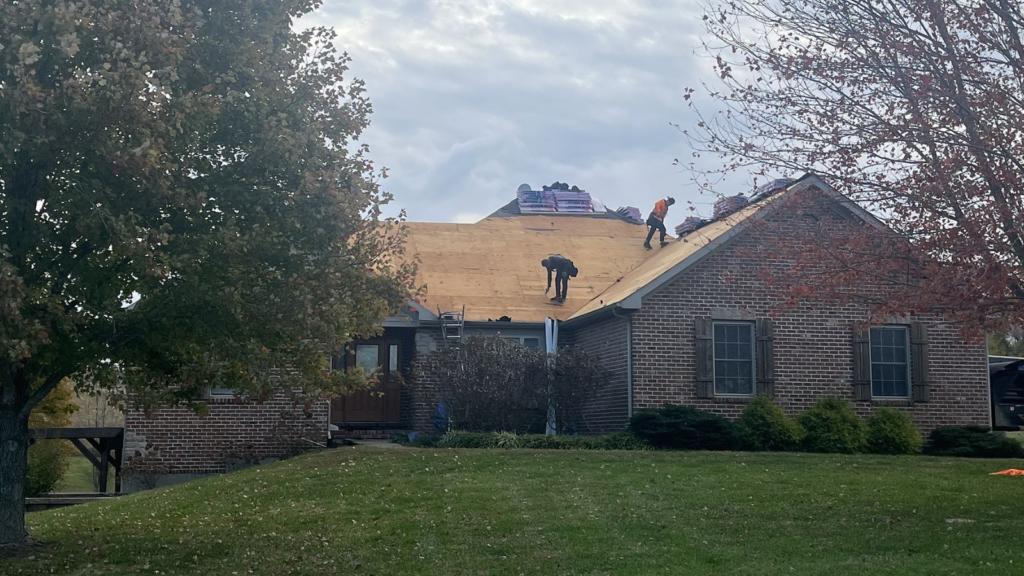
Step Seven: Gather Repair Estimates
After documentation, schedule a professional inspection. RC Roofing provides evaluations that help identify hidden storm damage and determine necessary repairs.
Collect written estimates that include detailed descriptions, measurements, and pricing. These estimates support your insurance claim and show the financial impact of the storm.
Working With Insurance Adjusters
Insurance adjusters may request additional documentation or wish to inspect the property. Your records help guide their evaluation.
Organize photos, notes, and estimates before the adjuster visit. Clear communication supports cooperation and reduces confusion.
Common Mistakes To Avoid
Avoid these mistakes when documenting storm damage:
- Discarding damaged materials too early
- Waiting days or weeks to take photos
- Making permanent repairs before insurance approval
- Relying only on what is visible from the ground
Hidden damage may be more significant than surface signs.
Why Professional Inspections Matter
Roofing professionals know where to look for damage and understand how storms affect structural components. Partnering with professionals strengthens the claim process.
RC Roofing helps homeowners identify issues that may not be obvious. Professional reports, photos, and measurements create credibility.
Final Thoughts On Storm Damage Roof Documentation
Storms are unpredictable, but your recovery process does not have to be. Documenting Roof Storm Damage is one of the most powerful tools you have to protect your insurance claim.
Take immediate photos, record storm details, gather estimates, and work with professionals. Doing so helps secure fair compensation and long-lasting repairs.
RC Roofing is here to help homeowners throughout Washington, Wildwood, Frontenac, Town & Country, Chesterfield, Eureka, Augusta, Union, and Pacific navigate storm recovery with confidence.
FAQ :
1.How soon should I document roof storm damage?
Immediately after the storm, once it is safe to do so.
2.Can I file an insurance claim without roof photos
You can, but claims are stronger and faster with proper documentation.
3.What roof damage is commonly missed after storms?
Lifted shingles, flashing damage, and small punctures are often overlooked.
4.Should I fix roof damage before insurance approval?
Only temporary emergency repairs. Permanent repairs should wait for approval.
5.Do insurance adjusters always inspect the roof?
Not always, but strong documentation may reduce disputes.
6.Can a roofing contractor help with documentation?
Yes. Professional inspections provide detailed reports and photos.